
The demand for lithium battery systems has surged across industries like medical, robotics, and security, driven by their versatile applications. In 2023, over 31.0% of the lithium-ion battery market supported consumer electronics, while electric vehicles are poised to dominate by 2024. Opting for a cost-effective lithium battery through DIY assembly ensures tailored capacity, reduced ownership costs, and enhanced durability. Prioritize safety and meticulous planning to craft a reliable homemade home storage battery.
Key Takeaways
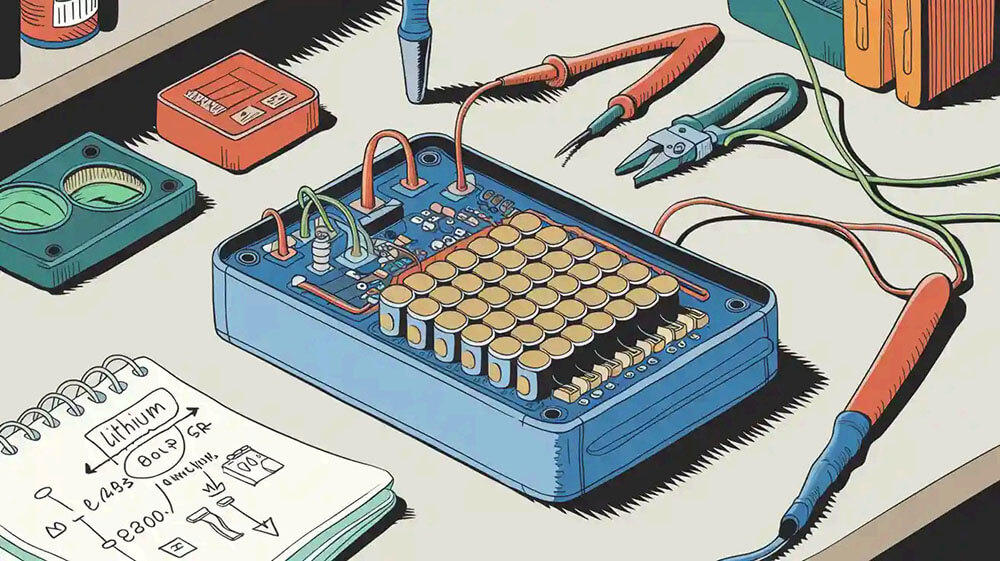
Making your own lithium battery can save you money. For instance, a homemade 14.3kWh battery costs less than three 5kWh ready-made ones.
A big benefit of DIY batteries is customization. You can design the battery to fit your project, making it work better and last longer for things like off-grid power.
Always focus on safety by using a good Battery Management System (BMS). It stops overcharging and overheating, keeping the battery safe and working well for a long time.
Part 1: Why Build a Cost-Effective Lithium Battery?
1.1 Advantages for Industrial Applications
A cost-effective lithium battery offers significant benefits for industrial applications. Industries such as infrastructure and security systems rely on high-performance energy solutions to power critical operations. Lithium batteries provide high energy density, ensuring efficient power delivery for heavy machinery and equipment. Their long lifespan minimizes downtime and reduces operational costs, making them a reliable choice for demanding environments.
Key Advantages for Industrial Use:
Scalability: Easily adapts to changing energy demands.
Modular Design: Simplifies expansion and maintenance.
Intelligent Battery Management: Enhances performance through continuous monitoring.
These features make lithium batteries indispensable for industries requiring uninterrupted power and operational efficiency.
1.2 Cost Savings Compared to Pre-Assembled Systems
Building a cost-effective lithium battery can save you substantial costs compared to purchasing pre-assembled systems. For example:
A user-built 14.3kWh system costs about two-thirds of the price of three 5kWh pre-assembled systems.
Another user constructed an 8kWh LiFePO4 battery pack for under $2,500, while a comparable commercial system costs over $6,000.
DIY assembly also allows you to source affordable components like a 12v lithium-ion battery, battery management systems (BMS), and wiring. This flexibility ensures you achieve better quality or capacity for the same investment.
1.3 Customization for Specific Project Needs
DIY lithium batteries offer unmatched customization for unique project requirements. For instance:
Off-Grid Renewable Energy Systems: A solar company used a LiFePO4 battery pack for extreme temperatures, achieving reliable energy storage and reduced maintenance.
Industrial Equipment Power Solutions: A manufacturing firm customized a shock-resistant LiFePO4 battery pack to power equipment in vibration-prone environments, ensuring durability and efficiency.
This level of customization enables you to tailor battery systems to specific operational needs, enhancing performance and reliability.
Part 2: Materials and Tools for DIY Lithium Batteries
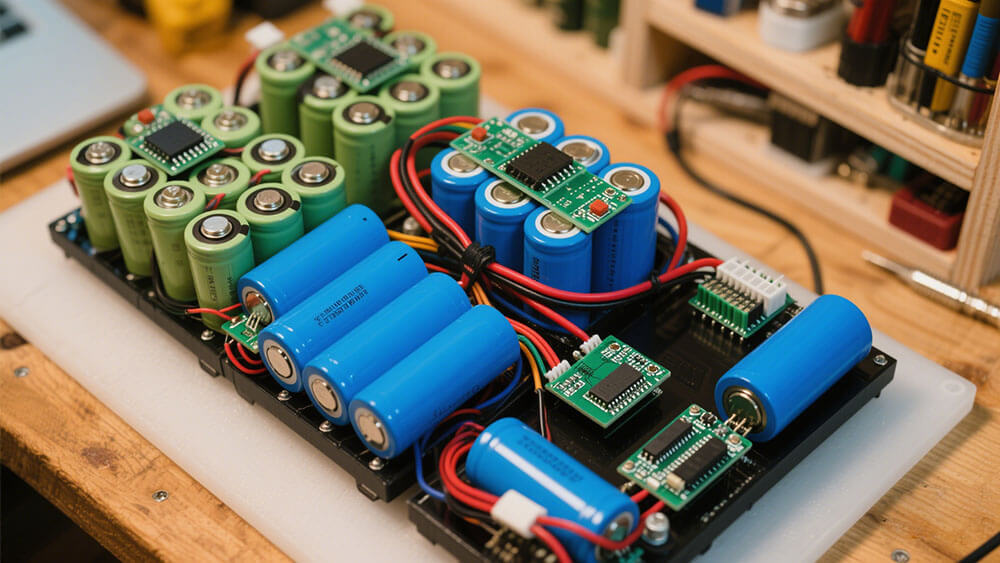
2.1 Essential Components (Lithium-Ion Cells, BMS, Wiring, etc.)
Building a reliable diy home battery begins with selecting the right components. Each part plays a critical role in ensuring the battery’s performance, safety, and longevity. Here are the essential components you need:
Lithium-Ion Cells: These cells form the core of your battery pack. Their high energy density allows for compact designs and longer run times. For instance, the INR2170-45D cell offers a nominal voltage of 3.6V and a capacity of 4500mAh, making it ideal for high-performance applications. Always choose cells with consistent specifications to ensure uniform performance across the pack.
Battery Management System (BMS): A BMS protects the lithium-ion cells from overcharging, undercharging, and short circuits. It also balances the cells during charging, ensuring optimal performance and extending the battery’s lifespan. Different BMS configurations are available to match various cell arrangements, such as 14S for a 48V system.
Wiring and Connectors: High-quality wiring ensures efficient power transfer and minimizes energy loss. Use connectors rated for the current your battery will handle to maintain safety and reliability.
Enclosure: A durable enclosure protects the battery pack from physical damage and environmental factors. Choose materials that can withstand the operating conditions of your application.
Tip: When sourcing components, prioritize quality over cost. Inferior materials can compromise the safety and efficiency of your diy home battery.
2.2 Tools for Assembly (Soldering Iron, Multimeter, etc.)
The right tools simplify the assembly process and ensure precision. Here’s a list of essential tools for building your diy lithium battery:
Soldering Iron: A high-quality soldering iron is crucial for creating secure connections between cells and wiring. Opt for a model with adjustable temperature settings for better control.
Multimeter: Use a multimeter to measure voltage, current, and resistance. This tool helps you test individual cells and verify the integrity of your connections.
Spot Welder: A spot welder is ideal for connecting cells without damaging them. It provides a strong bond while minimizing heat exposure.
Heat Shrink Tubing and Heat Gun: These tools insulate connections and protect them from short circuits. Heat shrink tubing also enhances the overall durability of the battery pack.
Safety Gear: Always wear safety goggles and gloves to protect yourself during assembly. Lithium-ion cells can release hazardous chemicals if mishandled.
Note: Properly calibrate your tools before starting the assembly to avoid errors and ensure a smooth process.
2.3 Optional Accessories for Enhanced Performance
To further optimize your diy home battery, consider adding these optional accessories:
Cooling Systems: Active or passive cooling systems help maintain optimal operating temperatures, especially in high-demand applications like robotics or industrial equipment.
Voltage and Current Monitors: These devices provide real-time data on your battery’s performance, helping you identify potential issues early.
Fuse and Circuit Breakers: Adding these components enhances safety by protecting the battery from overcurrent and short circuits.
Solar Charge Controllers: If you plan to integrate your battery with a solar energy system, a charge controller ensures efficient energy transfer and prevents overcharging.
Pro Tip: While optional, these accessories can significantly improve the efficiency and reliability of your diy lithium battery, especially in demanding environments.

Part 3: Step-by-Step Assembly Guide for DIY Home Battery
3.1 Preparing and Testing Lithium Cells
Before assembling your DIY home battery, you must prepare and test the lithium cells to ensure safety and reliability. Start by inspecting each cell for physical damage, such as dents or leaks. Damaged cells can compromise the performance and safety of your battery pack. Use a multimeter to measure the voltage of each cell. Ideally, all cells should have similar voltage levels to ensure uniform performance.
Tip: Avoid mixing cells with significant voltage differences. This can lead to imbalances during charging and discharging, reducing the lifespan of your battery.
Once you verify the voltage, conduct a capacity test. This involves discharging the cells at a constant current and measuring the total energy output. Manufacturers with extensive production data often achieve higher reliability in their cells. For instance, high-volume producers analyze millions of cells annually, identifying conditions that lead to failures. By using thoroughly tested cells, you can enhance the overall performance of your DIY battery system.
Key Factors | Description |
|---|---|
Electrode Uniformity | Ensures consistent performance across the battery cells. |
Component Dryness | Prevents moisture-related issues that can affect battery performance. |
Electrode Alignment | Critical for ensuring proper contact and efficiency in energy transfer within the cell. |
Internal and External Pressure | Maintains structural integrity and performance during operation. |
Electrolyte Amount Control | Essential for optimal chemical reactions within the battery. |
Cell Fixture with Pressure Control | Ensures uniform pressure distribution, which is vital for cell performance and longevity. |
By adhering to these metrics, you can validate the reliability of your DIY construction method.
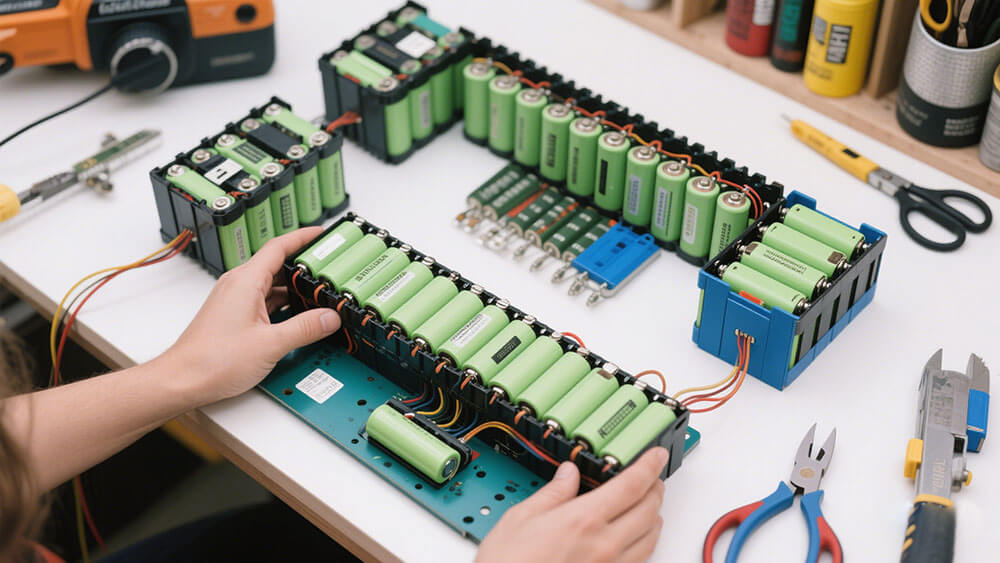
3.2 Connecting Cells in Series and Parallel
The next step involves connecting the lithium cells in series and parallel configurations to achieve the desired voltage and capacity. A series connection increases the voltage, while a parallel connection increases the capacity. For example, connecting four 3.7V cells in series results in a 14.8V battery, while connecting them in parallel maintains the voltage but increases the capacity.
Configuration | Voltage | Capacity | Efficiency | Safety |
|---|---|---|---|---|
Series | Increased | Same | Lower | Higher |
Parallel | Same | Increased | Higher | Lower |
When connecting cells, ensure proper voltage management. Use fuses in parallel circuits to disconnect failing cells and prevent excessive heat or fire hazards. Additionally, monitor the connections to maintain safety and performance. The flexibility of series/parallel configurations allows you to design a battery that meets your specific project requirements.
Note: Always use high-quality connectors and ensure secure connections to avoid energy loss or short circuits.
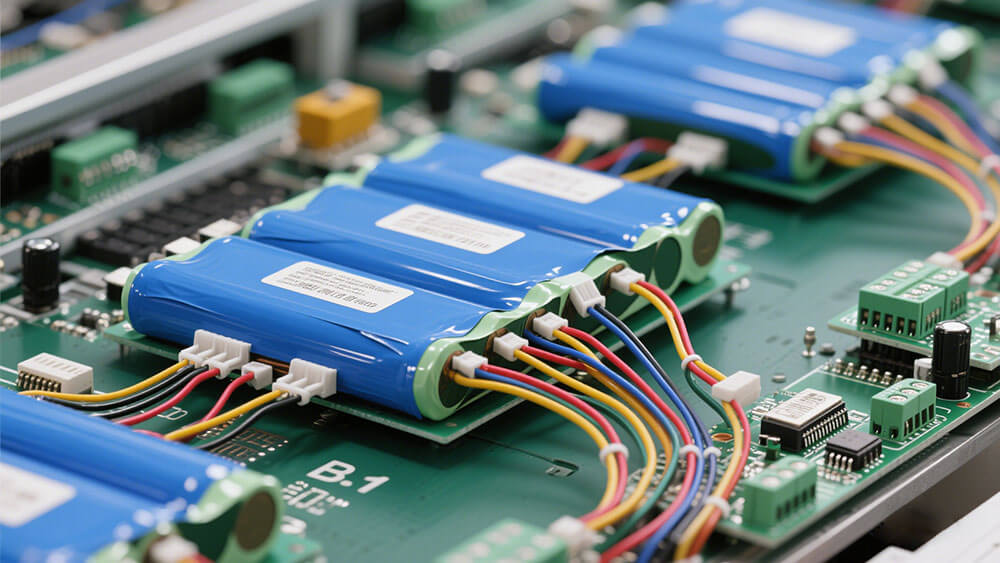
3.3 Installing the Battery Management System (BMS)
A Battery Management System (BMS) is essential for protecting your lithium cells and ensuring optimal performance. The BMS monitors the voltage and temperature of each cell, preventing overcharging, undercharging, and overheating. It also balances the cells during charging, extending the lifespan of your battery.
To install the BMS, follow these steps:
Identify the positive and negative terminals of your battery pack.
Connect the BMS wires to the corresponding terminals. Most BMS units come with a wiring diagram for guidance.
Secure the BMS to the battery pack using an adhesive or mounting bracket.
Regulation | Application | Test Type Examples | Pass Criteria |
|---|---|---|---|
SAE J2462 | Electric and hybrid automobiles | Nail Penetration Thermal Stability | No fire or explosion |
UL 9540A | Solar/wind energy systems | Overheating | No fire or explosion propagating |
IEC 62619 | Industrial applications | Overheating Nail Penetration | No fire or battery case rupture |
UL 1973 | Light electric rail | Overheating Nail Penetration Overcharge | No fire or explosion propagating |
KMVSS 18-2 & 3 | HV battery systems of electric vehicles | Heat Exposure Overcharge | No ignition or explosion |
These guidelines highlight the importance of proper BMS installation in ensuring safety and compliance with industry standards.
3.4 Final Assembly and Testing
After installing the BMS, complete the final assembly of your DIY home battery. Place the battery pack in a durable enclosure to protect it from physical damage and environmental factors. Ensure the enclosure has adequate ventilation to prevent overheating.
Once assembled, test the battery to verify its performance. Use a multimeter to measure the voltage and check for any irregularities. Conduct a load test by connecting the battery to a device or system that simulates its intended use. Monitor the battery’s performance, including its temperature and discharge rate.
Pro Tip: Regularly inspect and maintain your battery to ensure long-term reliability. This includes checking the connections, cleaning the terminals, and monitoring the BMS.
By following these steps, you can build a safe and efficient DIY lithium battery tailored to your specific needs from Large Power.
Part 4: Cost Analysis and Budget Tips
4.1 Breaking Down the Costs of Components
Understanding the cost structure of a lithium battery is essential for effective budgeting. The primary components include lithium-ion cells, a battery management system (BMS), wiring, and an enclosure. While detailed itemized costs for components like wiring and BMS are not always available, overall production costs provide valuable insights. For instance, a DIY 17.05 Ah lithium battery can cost less than INR 650, with a 20A BMS adding less than INR 550. These figures highlight the significant savings possible with DIY assembly.
By analyzing these costs, you can allocate resources more effectively and achieve a cost-efficient solution tailored to your project.
4.2 Sourcing Affordable Materials
Sourcing materials strategically can significantly reduce costs. Lithium, cobalt, and nickel are critical raw materials for battery production, with prices influenced by geopolitical factors and supply chain dynamics. Monitoring market trends and leveraging economies of scale can help you secure affordable materials. For example, sourcing lithium-ion cells from reputable suppliers ensures quality while minimizing costs. Additionally, exploring alternative materials and innovative production methods can further optimize your budget.
Tip: Collaborate with suppliers who offer bulk discounts or flexible pricing models to maximize savings.
4.3 Avoiding Common Budget Pitfalls
Budget overruns often stem from poor planning and unforeseen challenges. To mitigate these risks, consider the following strategies:
Incorporate Contingency Reserves: Allocate extra funds for unexpected expenses.
Manage Project Complexity: Simplify designs to reduce costs and minimize errors.
Prevent Scope Creep: Clearly define project requirements to avoid unnecessary additions.
Analyze Resource Allocation: Study past projects to optimize material and labor usage.
Monitor External Factors: Stay informed about economic and regulatory changes that may impact costs.
By addressing these common pitfalls, you can maintain control over your budget and ensure the success of your DIY lithium battery project.
Building a cost-effective lithium battery system offers unmatched benefits for professional applications. You can reduce costs, enhance energy efficiency, and customize solutions for specific needs. Proper planning and safety measures ensure reliable performance. For example:
A DIY system reduced grid reliance, exporting only 85 kWh of solar energy in a quarter compared to 1051 kWh previously.
Off-peak electricity usage improved 18 times, lowering tariffs significantly.
Careful assembly practices, including electrical and safety testing, ensure compliance with standards like UN 38.3 and IEC 62133. Explore custom battery solutions from Large Power to start your project confidently.
FAQ
1. What is the lifespan of a LiFePO4 Lithium battery?
LiFePO4 Lithium batteries offer 2,000–5,000 cycles, depending on usage and maintenance. Their platform voltage is 3.2V, ensuring long-term reliability for industrial and renewable energy applications.
2. How do I ensure the safety of my DIY lithium battery?
Install a high-quality Battery Management System (BMS) to prevent overcharging, overheating, and short circuits. Regularly inspect connections and follow industry safety standards like UN 38.3.
3. Why choose Large Power for custom battery solutions?
Large Power provides tailored custom battery solutions for diverse industries, ensuring high performance, safety, and compliance with global standards. Consult our experts for your project needs.


