Contents
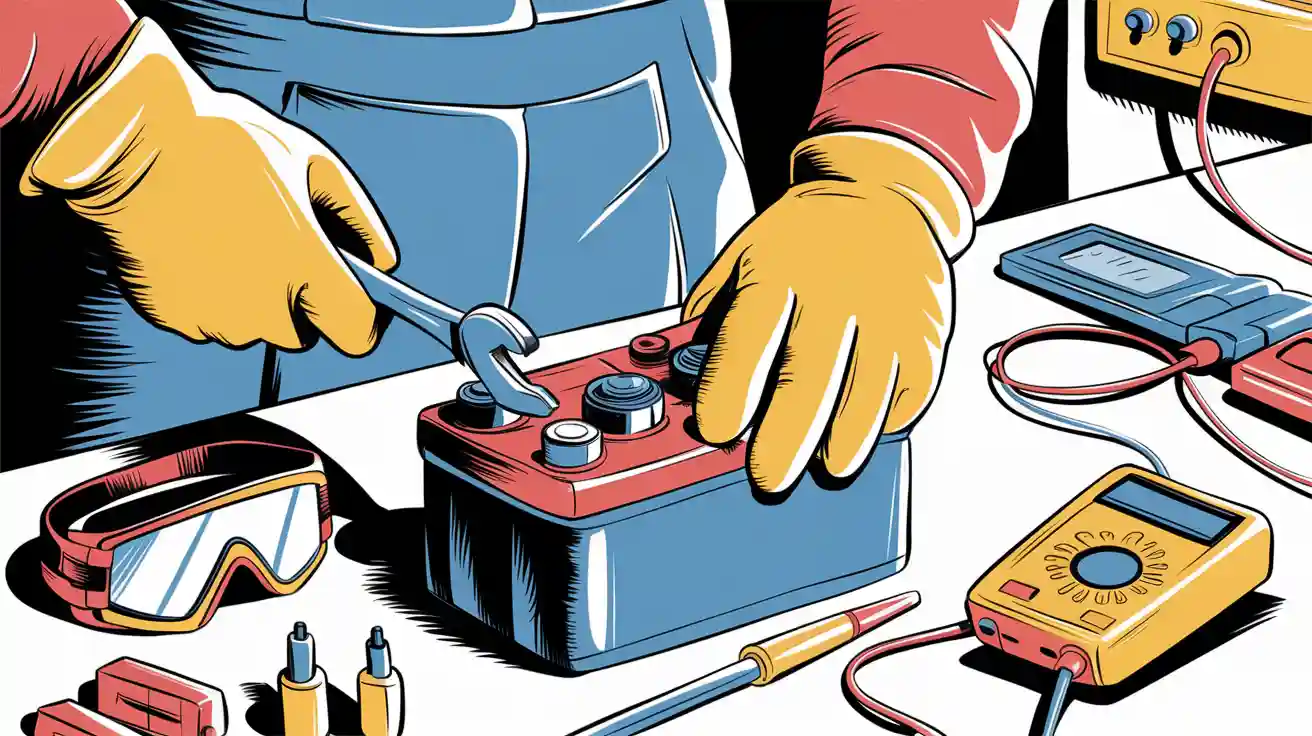
Replacing a battery connector demands strict attention to safety, especially with lithium battery packs. When you replace a battery connector, improper handling can expose you to significant risks:
Electrical shocks, often caused by microscopic metal particles, may occur during short circuits.
Short circuits can lead to rapid temperature increases, sometimes exceeding 150°C (302°F), which may trigger thermal runaway.
Thermal runaway can escalate, causing adjacent cells to fail and potentially damaging the entire battery system.
Understanding these risks highlights the necessity of following proper procedures when you replace a battery connector. Prioritize safety to protect both yourself and your equipment.
Key Takeaways
Always wear safety gear like gloves and goggles to stay safe from electricity and chemicals.
Work in a place with fresh air to avoid breathing bad fumes, especially with lithium-ion batteries.
Take off the negative terminal first when removing a battery to lower the chance of shocks or short circuits.
Part 1: Preparation for Battery Connector Replacement
1.1 Wear Protective Gear for Battery Safety
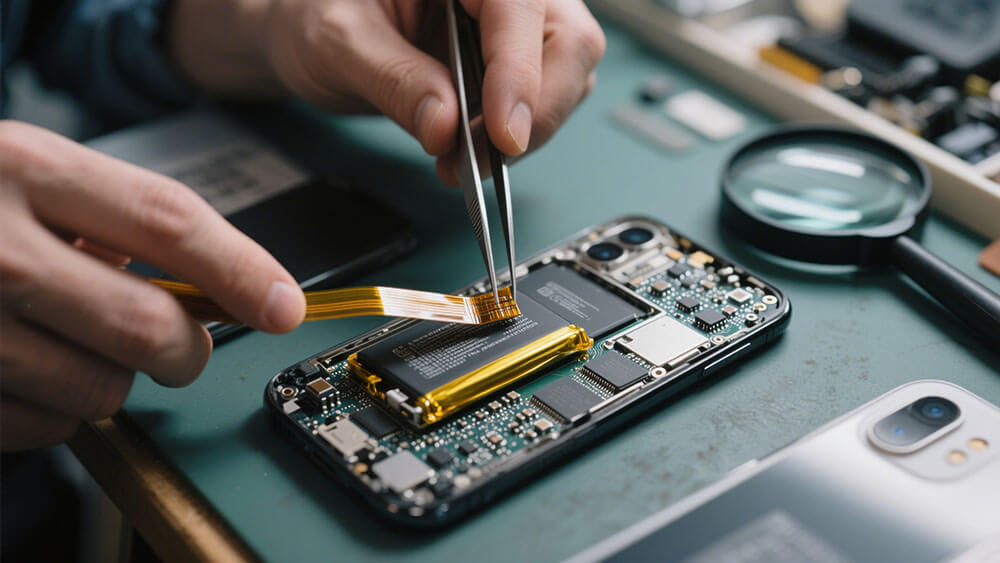
When replacing a battery connector, wearing safety gear is non-negotiable. Batteries, especially lithium-ion batteries, can pose risks such as chemical leaks, electrical shocks, or burns. Equip yourself with the following protective gear:
Insulated gloves: These protect your hands from electrical hazards and provide a firm grip.
Safety glasses: Essential for shielding your eyes from potential sparks or debris.
Respiratory protection: Necessary if you suspect the battery is leaking or damaged.
Electrical hazard-rated footwear: Reduces the risk of grounding yourself during the replacement process.
According to OSHA, voltages as low as 50 volts can be hazardous, and energy stored in batteries can still pose risks even when powered off. Following NFPA 70E standards ensures you remain compliant with industry safety guidelines. Prioritize car battery safety by assessing risks before starting the replacement process.
Tip: Always inspect your safety gear for damage before use. Compromised equipment can reduce its effectiveness and put you at risk.
1.2 Work in a Well-Ventilated Area
Battery maintenance often involves exposure to fumes or gases, especially when dealing with lithium-ion batteries. Working in a well-ventilated area minimizes the risk of inhaling harmful substances. Standards like ASHRAE 62.2 emphasize the importance of maintaining indoor air quality during such tasks.
Ensure the workspace has proper ventilation systems to dilute pollutants effectively.
Avoid confined spaces without adequate airflow.
Label ventilation systems clearly to ensure they are used correctly during maintenance.
Proper ventilation is crucial for your safety and the environment. It prevents the accumulation of toxic gases, ensuring a safer working environment.
Note: If you’re working in an industrial setting, consult your facility’s ventilation guidelines to ensure compliance with local regulations.
1.3 Gather Tools for Battery Replacement
Having the right tools on hand streamlines the replacement process and reduces the risk of errors. Below is a table outlining essential tools and their purposes:
Tool | Purpose |
|---|---|
Screwdriver | Opens the battery casing. Ensure the type matches your device (e.g., Phillips, flathead). |
Voltage Tester | Confirms the battery is powered off and checks its charge. |
Insulated Gloves | Protects your hands from chemicals and electrical hazards. |
Replacement Battery | Matches the specifications of the original battery. |
Safety Precaution: Always turn off the power supply before starting. Use a voltage tester to confirm the battery is completely discharged.
Good preparation not only ensures a smooth replacement process but also minimizes risks associated with improper handling.
1.4 Ensure the Battery is Powered Off and Discharged
Before you begin, confirm that the battery is powered off and fully discharged. This step is critical to prevent electrical shocks or short circuits. Follow these steps:
Disconnect the battery from the device.
Use a voltage tester to verify that no residual charge remains.
Cover exposed terminals with insulating tape to prevent accidental contact.
The General Pretreatment Regulations (40 CFR 403) emphasize the importance of discharge procedures to minimize environmental impact. Properly discharging the battery also aligns with good housekeeping practices, reducing the risk of spills or accidents.
Reminder: Never attempt to replace a battery connector while the battery is still connected to a power source. This can lead to severe injuries or damage to the equipment.
Part 2: Step-by-Step Guide to Replace a Battery Connector
2.1 Disconnect the Battery Safely
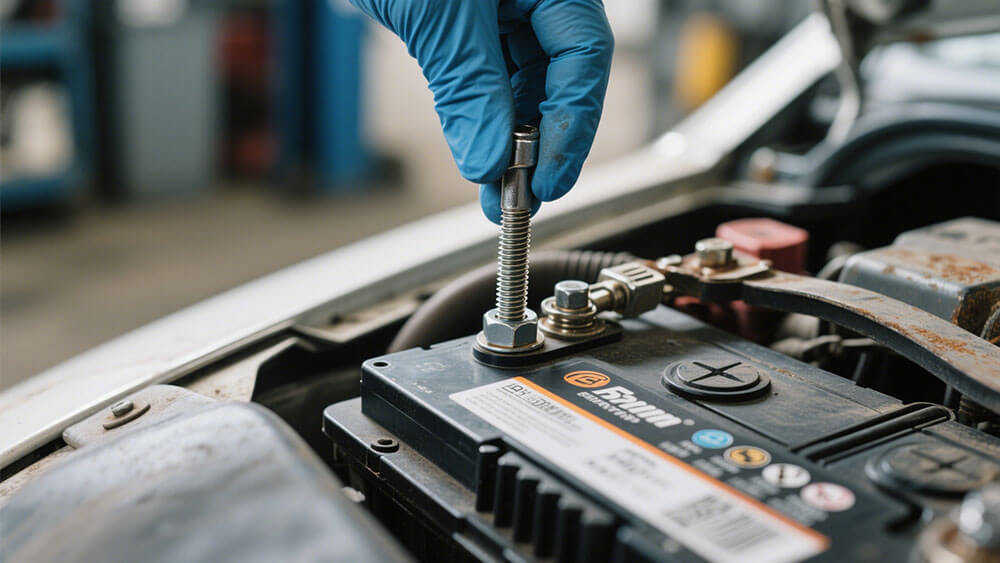
To safely disconnect the battery, follow these steps to minimize risks:
Power Off the Device: Ensure the device is completely powered off. This prevents accidental electrical discharge.
Wear Protective Gear: Equip yourself with insulated gloves and safety glasses to protect against potential hazards.
Disconnect the Negative Terminal First: Always start by disconnecting the negative terminal. This reduces the risk of short circuits.
Remove the Positive Terminal: After disconnecting the negative terminal, proceed to remove the positive terminal.
Tip: Use a wrench or screwdriver that matches the terminal size to avoid damaging the connectors.
By following these steps, you can safely disconnect the battery and prepare for the replacement process.
2.2 Inspect and Clean Battery Terminals
Before installing new connectors, inspect and clean the battery terminals to ensure proper contact. Corrosion or debris can interfere with the connection. Use the following procedure:
Gather Cleaning Materials: Prepare a wire brush, baking soda, water, and a small container.
Create a Cleaning Solution: Mix one tablespoon of baking soda with one cup of water. Stir until dissolved.
Scrub the Terminals: Dip the wire brush into the solution and scrub the terminals thoroughly. Focus on removing corrosion and buildup.
Rinse and Dry: Rinse the terminals with clean water and dry them with a cloth.
Note: Inspect the terminals for damage. Replace them if they show signs of excessive wear or corrosion.
Cleaning the battery terminals ensures a secure connection and prolongs the lifespan of the battery system.
2.3 Remove Old Connectors
Removing the old connectors requires precision to avoid damaging the battery or wires. Follow these steps:
Cut the Wires: Use wire cutters to carefully cut the wires connected to the old connectors. Leave enough length for reattachment.
Desolder the Connectors: If the connectors are soldered, use a soldering iron to melt the solder and detach the wires.
Inspect the Wires: Check the exposed wires for damage. Trim and strip the insulation if necessary.
Safety Reminder: Avoid pulling on the wires directly, as this can damage the internal connections.
Proper removal of old connectors sets the stage for a seamless installation of new ones.
2.4 Install New Connectors
Installing new connectors requires careful alignment and secure attachment. Here’s how to do it:
Prepare the Wires: Strip about 5mm of insulation from the wire ends. Tin the exposed wires with solder to prevent oxidation.
Attach the Connectors: Insert the wires into the corresponding terminals of the new connectors. Ensure the positive wire (red) connects to the positive terminal and the negative wire (black) connects to the negative terminal.
Solder the Connection: Use a soldering iron to secure the wires to the connectors. Apply heat evenly to avoid damaging the plastic components.
Insulate the Connection: Cover the soldered area with heat shrink tubing or electrical tape to prevent short circuits.
Pro Tip: Use connectors that match the original specifications, such as JST or XT60, to ensure compatibility.
A proper installation guarantees a reliable connection and optimal performance of the battery system.
2.5 Reconnect the Battery and Test the System
After installing the new connectors, reconnect the battery and test the system to ensure everything functions correctly:
Reconnect the Terminals: Attach the positive terminal first, followed by the negative terminal. Tighten the connections securely.
Test the Voltage: Use a multimeter to check the voltage across the terminals. Verify that the polarity is correct.
Power On the Device: Turn on the device and observe its operation. Ensure all components function as expected.
Testing Protocols | Importance |
|---|---|
NETA/ANSI Standards | Validates the integrity of electrical connections after replacement. |
Acceptance Testing | Confirms the system is fit for service and meets operational standards. |
Reminder: If the device does not function properly, double-check the connections and repeat the testing process.
Testing the system ensures the battery replacement was successful and the device operates safely.
Part 3: Common Mistakes to Avoid During Battery Replacement
3.1 Mixing Up Positive and Negative Terminals
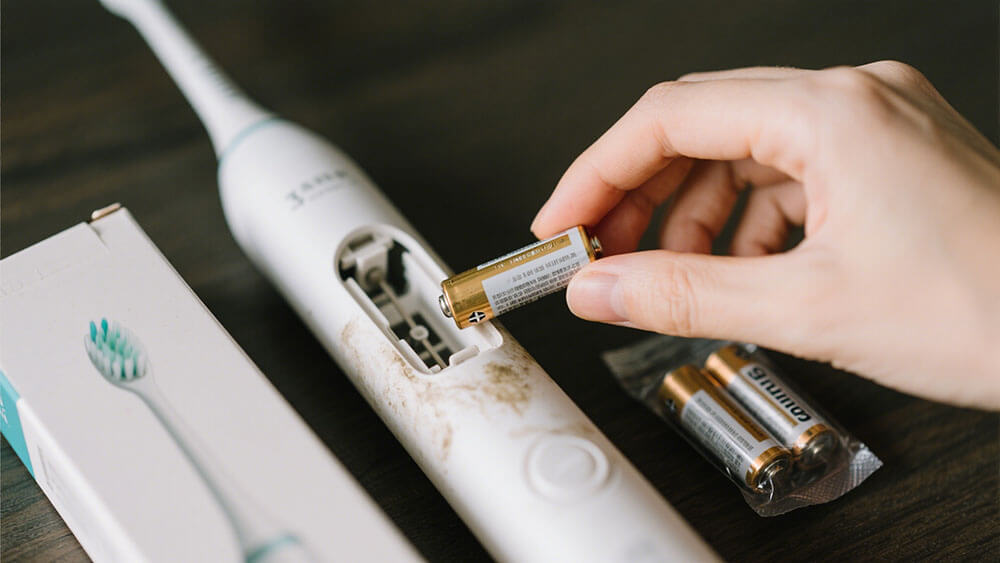
Confusing positive and negative terminals is a common error that can lead to severe consequences. Lithium-ion batteries, widely used in consumer electronics and industrial applications, are particularly sensitive to polarity errors. Connecting the wrong terminals can cause short circuits, damage the battery, or even result in fire hazards.
To avoid this mistake:
Label the wires: Use color-coded markers or tags to identify the positive (red) and negative (black) wires.
Double-check polarity: Before soldering or connecting, verify the terminal alignment using a multimeter.
Follow manufacturer guidelines: Consult the battery’s technical documentation for polarity specifications.
Tip: Take a photo of the original wiring setup before disconnecting the connectors. This visual reference can prevent errors during reassembly.
3.2 Over-Tightening or Under-Tightening Connectors
Improper torque application when tightening connectors can compromise the battery system’s safety and performance. Over-tightening may break the terminal posts or cause overheating, while under-tightening can lead to loose connections and electrical arcing.
Key practices to avoid this mistake:
Use a torque wrench to apply the correct force as specified by the manufacturer.
Clean the connectors and terminals before tightening to ensure a secure fit.
Avoid overtightening bolts, as this can lead to post breakage or meltdown.
Note: Consult the manufacturer’s maintenance guidelines for recommended torque values. Proper tightening ensures optimal contact and reduces the risk of system failure.
3.3 Improper Disposal of Old Connectors
Discarding old connectors without following environmental standards can harm ecosystems and human health. Toxic metals in batteries, such as lead and cadmium, can leach into soil and water systems.
Best practices for disposal:
Recycle: Participate in recycling programs to conserve resources and reduce raw material demand.
Use special disposal programs: Non-recyclable batteries should be disposed of through EPA-recommended programs to handle hazardous materials safely.
Store safely: Tape terminals or place connectors in separate bags to prevent reactions during storage.
Reminder: Improper disposal can lead to legal penalties and environmental damage. Recycling and safe storage align with sustainability goals. Learn more about sustainable practices here.
3.4 Skipping Post-Installation Safety Checks
Neglecting post-installation safety checks can result in undetected hazards, compromising the battery system’s reliability. Comprehensive inspections ensure the connectors are securely attached and the system operates safely.
Include the following in your safety checklist:
Inspection Task | Importance |
|---|---|
Verify terminal polarity | Prevents short circuits and ensures proper operation. |
Check for loose connections | Reduces the risk of electrical arcing and overheating. |
Assess surrounding equipment for hazards | Identifies potential risks before they escalate. |
Confirm compliance with OSHA standards | Ensures workplace safety and avoids legal issues. |
Pro Tip: Conduct voltage tests and visual inspections to validate the system’s integrity. Regular checks enhance safety and extend the battery’s lifespan.
For customized battery solutions tailored to your needs, consult Large Power.
Replacing battery connectors, especially in lithium-ion battery systems, demands careful preparation and adherence to safety protocols. You should prioritize wearing protective gear, working in a ventilated area, and using insulated tools to prevent short circuits. Following the step-by-step guide ensures a smooth replacement process while minimizing risks. Avoid common mistakes like mixing up terminals or skipping post-installation checks.
Key Safety Tips:
Disconnect the negative terminal first to prevent sparks.
Keep battery terminals clean for optimal electrical connections.
Store and dispose of batteries responsibly to protect the environment.
By following these practices, you safeguard your equipment and ensure reliable battery performance. For customized solutions tailored to your needs, consult Large Power.
FAQ
1. How do you identify the correct replacement connector for your battery?
Check the specifications of your battery and device. Match the connector type (e.g., JST, XT60) and ensure compatibility with voltage and current ratings.
Tip: Consult your battery’s technical manual or contact Large Power for expert guidance.
2. Can you replace a battery connector without professional help?
Yes, but only if you have the necessary tools and experience. Follow safety protocols, such as wearing insulated gloves and ensuring the battery is powered off.
Reminder: If unsure, seek professional assistance to avoid damaging the battery or vehicle.
3. What should you do if the battery emits smoke during replacement?
Immediately stop the process and move the battery to a safe, ventilated area. Avoid inhaling fumes and contact a professional for further assistance.
Safety Note: Lithium-ion batteries can pose fire risks. Always prioritize safety and consult experts when handling damaged batteries.


